-
‘Tis by the grace of God that my cars run!Originally posted by LJ851
Siobhan's Build Thread - UPDATED!Originally posted by unloadedak

-
It would be nice to meet up with you guys as well. I have only meet one other e30 guy in my area.Current
99 328i (Sold)
91 318is M50B25TU
89 325ix (Parted out)
87 325is (Parted out)
95 525i (Parted Motor for 91 318is)Comment
-
Where are you located?‘Tis by the grace of God that my cars run!Originally posted by LJ851
Siobhan's Build Thread - UPDATED!Originally posted by unloadedak
Comment
-
Yes, lets all meetup, i can assure you all Siobhan is a beast! Kingston did a great job with the looks and build.Soon to be turbo'd M10. Safari Beige Goodness :devil::devil:
(00=[][]=00)Comment
-
sigpic
Rebellion Forge Custom Fabrication
1988 325is - TrackRat in progress
Instagram @rebellionforgeComment
-
‘Tis by the grace of God that my cars run!Originally posted by LJ851
Siobhan's Build Thread - UPDATED!Originally posted by unloadedak
Comment
-
‘Tis by the grace of God that my cars run!Originally posted by LJ851
Siobhan's Build Thread - UPDATED!Originally posted by unloadedak
Comment
-
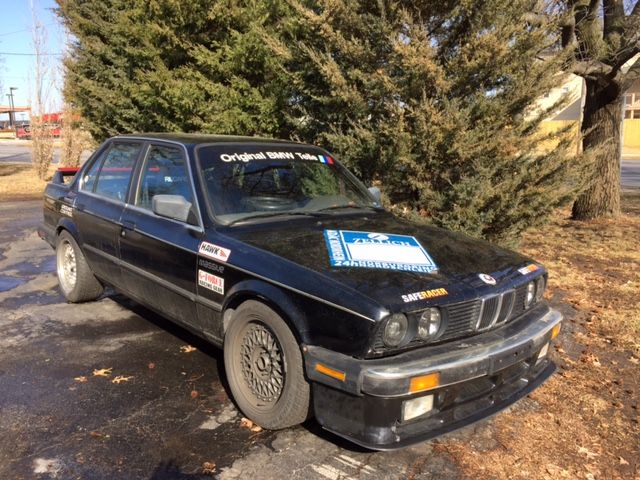
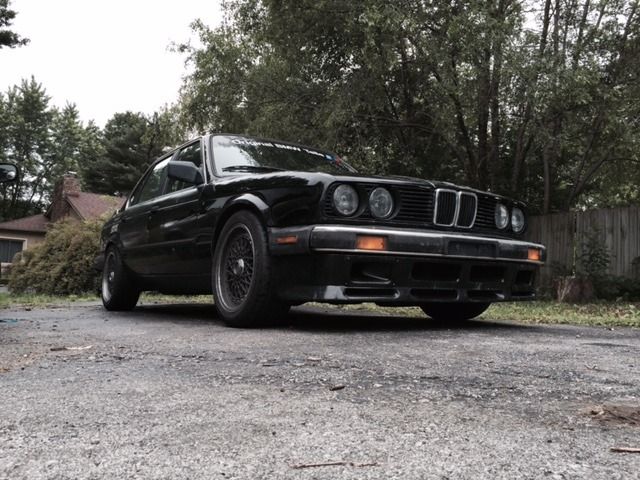
Well, it has been a little while since I had any kind of an update. Siobhan is "done" pretty much, so there hasn't been much to report. I have signed up for her 1st track day of the year on April 11th & 12th at Gateway in St. Louis, and I am looking forward to see how some of the changes I have made to the car feel on track!
There was one project that I have been wanting to knock out for awhile, and that is getting a front splitter fabbed up. Tyler Coey and Ryan Lawrence at Never Done Garage hooked me up with a nice custom piece today, and I couldn't be happier!

The splitter is made from automotive-grade ABS plastic, and seems to be thicker than the Ryan G ones, as well as sticking out a little farther up front. I couldn't be happier with it!!
Check these guys out! http://neverdone.bigcartel.com/Last edited by kingston; 02-19-2015, 02:40 PM.‘Tis by the grace of God that my cars run!Originally posted by LJ851
Siobhan's Build Thread - UPDATED!Originally posted by unloadedak
Comment
-
It was a pretty nice day today, so I had a chance to work on my projects a little.
Here's the airdam mounted back on Siobhan
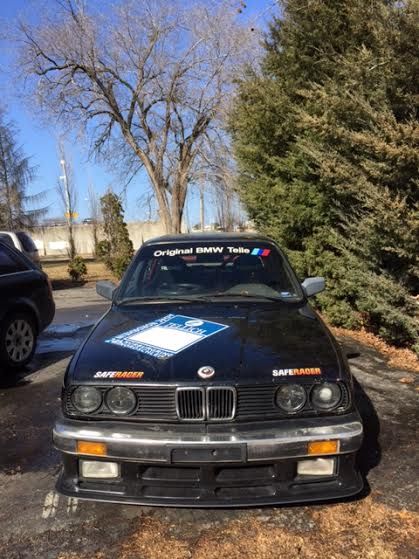
I really like the way this came out! I may well end up getting a splitter on the M-Tech 1 front valance on my 2 door build :D
More soon!
‘Tis by the grace of God that my cars run!Originally posted by LJ851
Siobhan's Build Thread - UPDATED!Originally posted by unloadedak
Comment
-
Updates updates updates ;)Comment
-
Updates are long overdue...and the first update wasn't one I ever wanted to have to post...
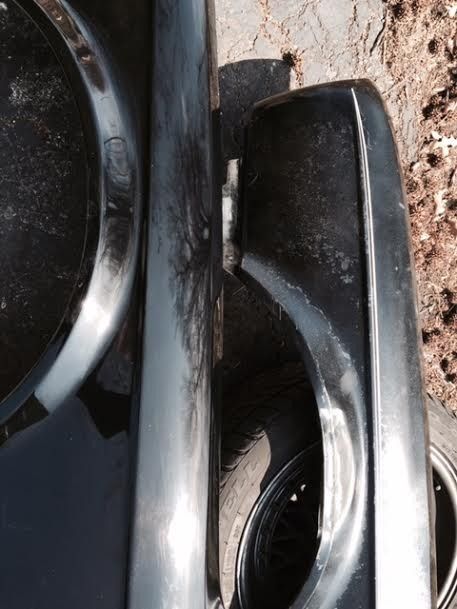
I let a friend of mine take a spin (literally, as it turns out) in Siobhan. Although he used to have an S50-swapped E30, it had been awhile since he had been in a car with an aggressive setup...that fact, couple with a very dirty road surface led do an accident while I was in the passenger seat. Luckily no one was hurt, and the damage was all easily and (relatively) cheaply repaired. The car ended up traveling backwards, and hit a curb then bounced over it into a pole. If the hit had been anywhere else on the car, it might have totalled out the car...
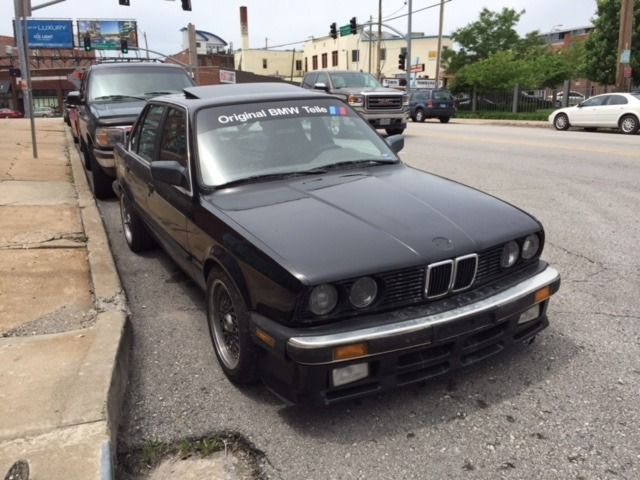
Here's my car on the way to the meet right by where this occurred...
And after:
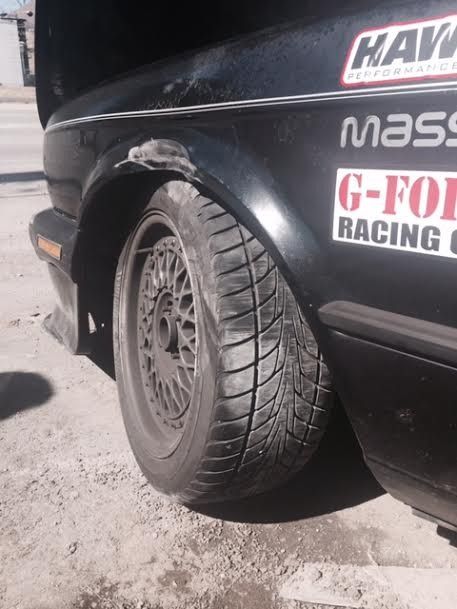
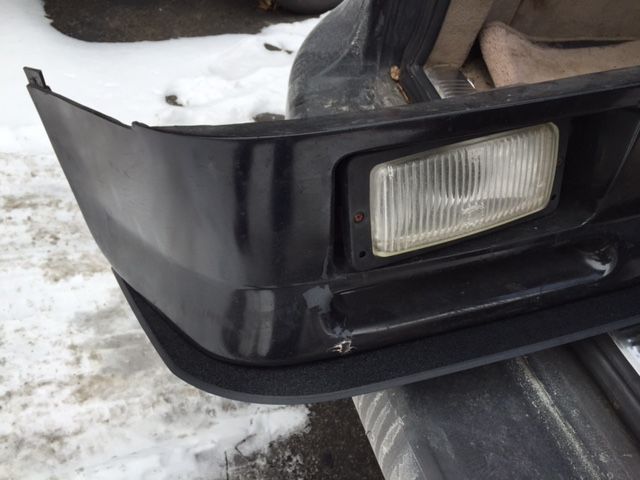
The right wheel is pointing left!
That doesn't look quite right...
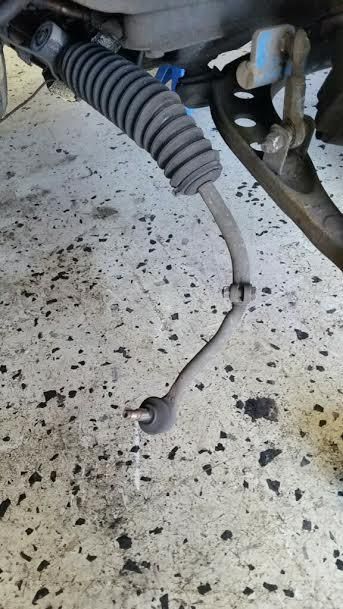
Damaged parts included the tie rod, the steering rack, the strut insert, strut housing (didn't realise that until later), the driver-side fender and the wheel. The wheel ended up being the biggest issue, in that they were a size that is no longer in production, and neither of us could find a seller with a single wheel for sale. Joe and I ended up splitting the cost of a new set.
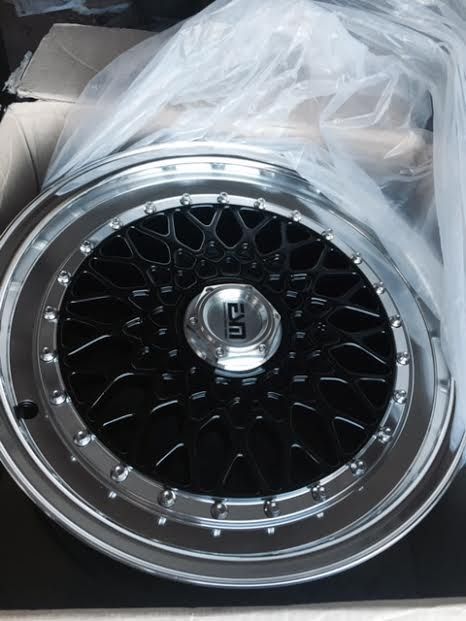
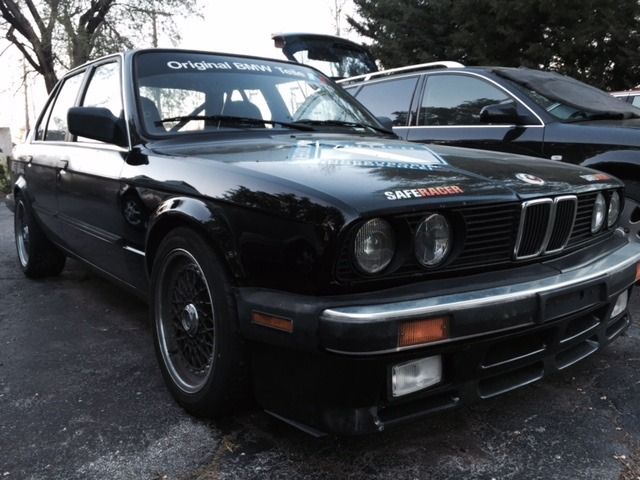
Before anyone get snarky (I am looking at you F34R) about ESMs on a track built car, these are only the Street wheels for it. I have set of 15x8 TRMs with R Comps for the track.
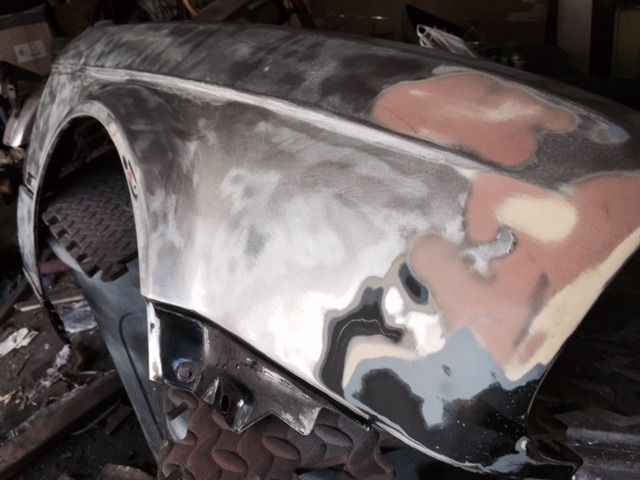
I got a new fender from Bradley Motor Works in St. Louis (delivered to me by my buddy Erik) in Calypsorot, which meant that it was time to learn how to paint bodywork!
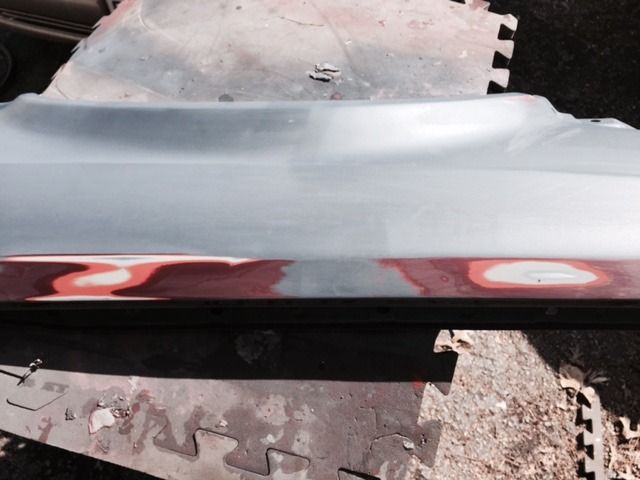
I started by sanding off the clear coat and scuffing the paint underneath, then sprayed a coat of primer and started block sanding...
Primed again:
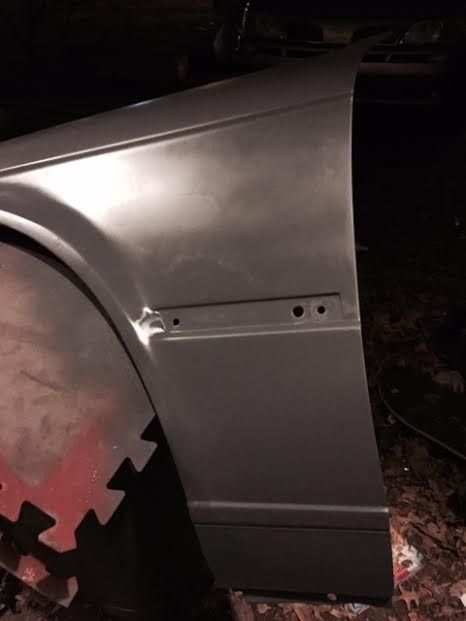
This panel was in good shape to begin with, and I honestly wasn't expecting much, so I just sanded this then shot paint.
Color and clear coat down:
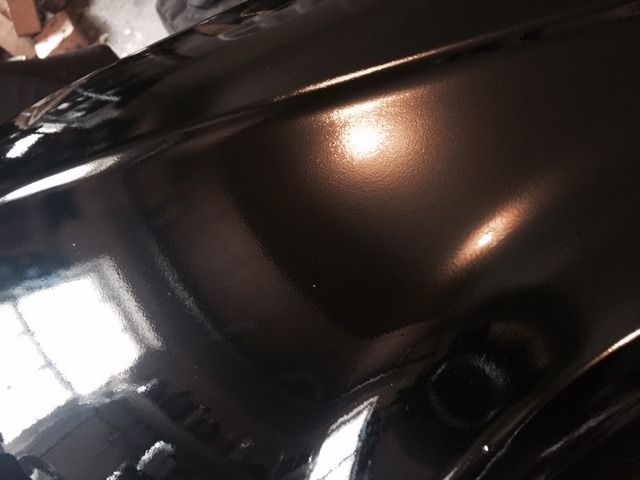
So, I guess this is what they call orange peel!
After wet sanding with 1500 grit and buffing & polishing with a drill attachment and 2 different pads (a buffing one and a polishing one) using Maguiar's Ultimate:
I was stunned at how well this came out! It made me wish that I had taken a little more time to prep it better to take care of the couple of little issues there are. I also know now that I should have used some Maguiar's 105 or 205 to buff the car, which would have taken care of the light scratches in the clear coat.
And on the car:
That was with the old wheels still on the car. The driver's side front had 2 nice dents in it and a crack. It was holding air, but I wasn't going to risk driving on it any longer than I had to.
Last edited by kingston; 05-24-2015, 09:29 AM.‘Tis by the grace of God that my cars run!Originally posted by LJ851
Siobhan's Build Thread - UPDATED!Originally posted by unloadedak
Comment
-
Here is a comparison shot between the freshly painted fender and the old one:
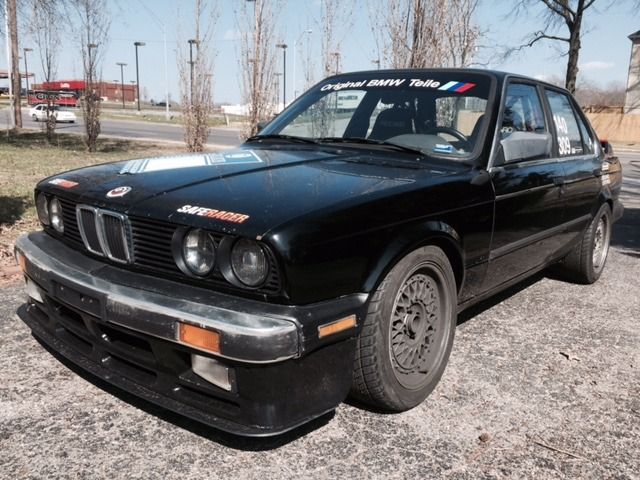
And with the new wheels mounted up:
The biggest problem now is that the paint on the rest of the car looks like hell. It was shot when I got it 4 years ago, and sure as heck hasn't gotten any better since then! So, I decided to paint the passenger side fender, too
The paint on it was shot, and there were chips down to the bare metal, so this one was going to have to be taken down to the bare metal.
Ugh! Looks like I was not the first person to work on this panel. There is a fair bit of Bondo on there. It will do for now, but it was a little disheartening to see
Lots of priming and sanding later, I laid on a coat of primer sealer
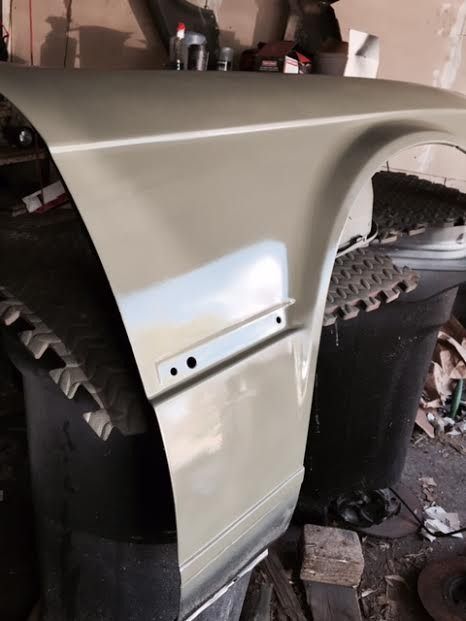
Then Color

Then Clear
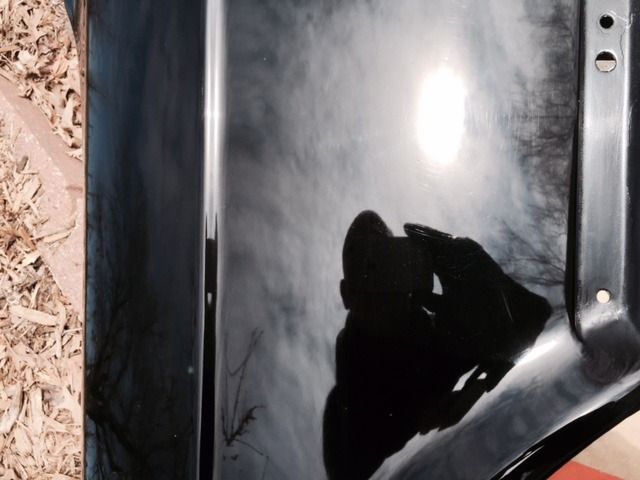
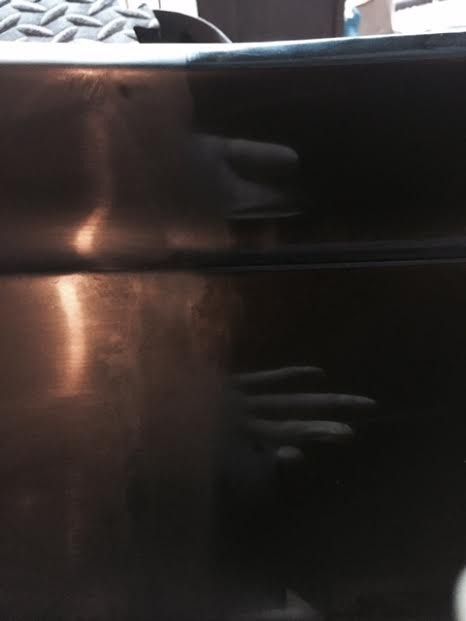
Color sanded the clear coat (which makes the panel look flat)
And once that was done, I started buffing it out. (The part with the reflection of my gloved hand is the buffed part.)
And the finished product!
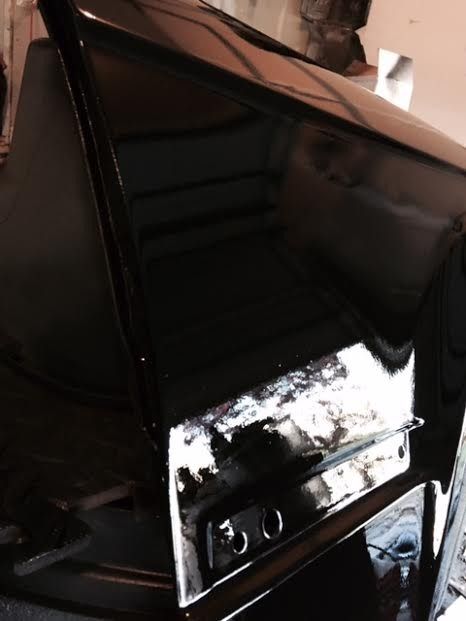
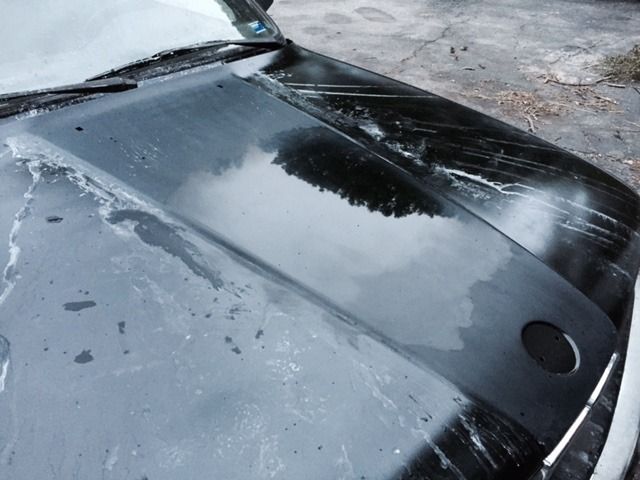
With the fenders done, I decided to do the hood. Like the original fender, the hood's paint was destroyed, and there were a lot of big chips that went all the way down to the metal, where there was surface rust. So once again it is down to bare metal...

It meant losing the cool N24-replica sticker on the hood, but it had seen better days anyway, and it was always just supposed to be a test version for the real thing. I will be getting new ones made tomorrow by my buddy Travis :D
The now familiar 'prime, sand, clean, prime, sand, clean,' etc. I decided to lay down primer sealer this time, too, since the hood is so wide and flat it will show off any issues badly. Then paint and clear.
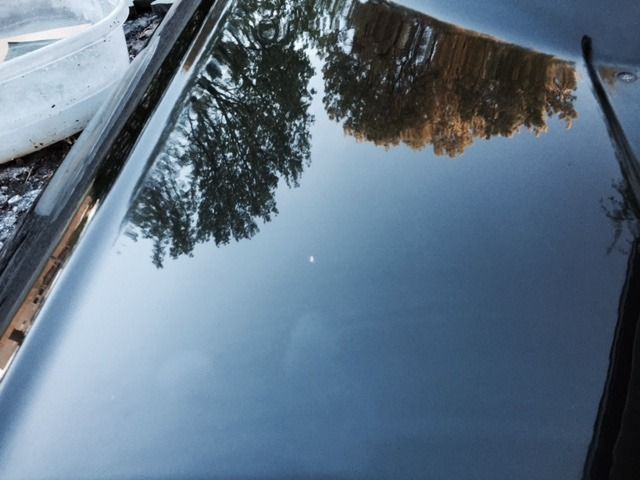
Color sanded the center with wet 2000 grit and decided to buff & polish the center to see how it was coming along.
On the car (although not fully sanded or buffed yet:
It looks pretty good, but it has some issues. Mainly they were caused by me working in my garage, which has inadequate lighting. That meant I didn't get the paint and clear coat down quite as well as I should have, and the depth is unequal at places. I will redo it soon. Last night I bought a bodywork stand, and today I am on the hunt for shop lights on a stand.
With the hood done for now, I decided to tackle another project. I had bought brake ducts to replace the fog lights on the iS airdam, and they had been collecting dust on my shelves for a few weeks.
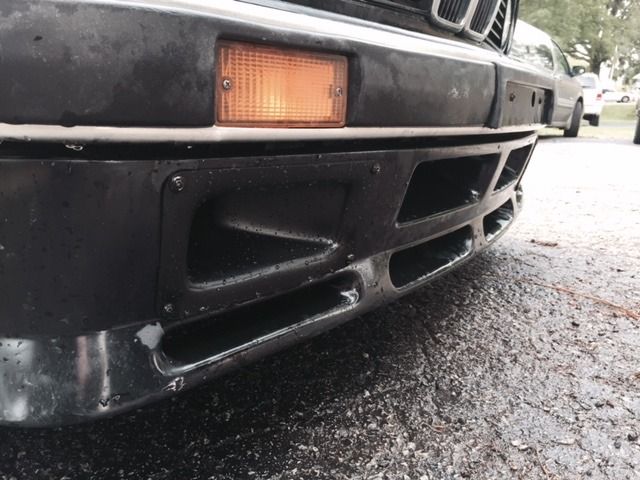
Installing them meant cutting away parts of the metal valance behind the airdam. To mount them I just drilled pilot holes in the ducts, put the automotive trim screws in a little, and positioned the ducts where I wanted them. The screws put little marks in the airdam, and I drilled pilot holes in those spots, too, then installed the ducts.
Another view:
Right now I only have the ducts themselves installed. I am going to buy the Bimmerworld brake cooling backing plates, hoses and flanges for them soon. The fog lights, which are in really good shape, are going to be for sale.‘Tis by the grace of God that my cars run!Originally posted by LJ851
Siobhan's Build Thread - UPDATED!Originally posted by unloadedak
Comment
-
I like how your paint job on fender came out. I also like the new shoes!!Projects Hartge,Alpina & AC Schnitzer Builds.http://www.r3vlimited.com/board/showthread.php?t=280601
http://www.r3vlimited.com/board/showthread.php?t=227993
http://www.r3vlimited.com/board/showthread.php?t=289362
 DSC04926 by Raul Salinas, on Flickr
 DSC03413 by Raul Salinas, on Flickr
Comment
-
hey i ran those same ducts on the track car.
i never got a chance to hook any actual ducting up to them though :(

2003.5 Imolarot M3: daily
1995 Alpinweiß M3: hpde
Comment
-
‘Tis by the grace of God that my cars run!Originally posted by LJ851
Siobhan's Build Thread - UPDATED!Originally posted by unloadedak
Comment


Comment